While we've already grown herbs in containers at other rental homes, this year we created a cute small shed in the backyard that has the ideal location for a vertical herb garden. Our mature yard, which is shaded by 100-year-old walnut trees, receives little sunlight, so I had to be strategic about how I used my area. I made the decision to grow some herbs vertically because we're also installing a vegetable garden. Anyone else who has a little yard or no yard at all should take on this job! Renter-friendly, too!
This will explain every step while also giving you the precise measurements needed for the instructions that follow. In the end, you'll have a 2' x 4' hanging herb garden plus the information necessary to modify your measurements if you require a different size.
Supplies:

- One 3’x50′ roll of weed barrier
- 1″ x 2′ copper pipe
- Sewing machine
- Straight pins
- 5′ cotton rope
- Scissors
- Herbs
- Potting soil
.jpg "Small Space Verticle Herb Garden")
From your landscape fabric roll, cut 11 feet, then set the other length aside. Place straight pins every 6" along the fold where your two edges meet. Fold it in half lengthwise. To avoid feeling overwhelmed by the amount of fabric, I recommend performing this step on a clean area.
.jpg "Small Space Verticle Herb Garden")
With the straight pins, stitch down the side, leaving about 1/4" of space from the edge. When you're finished, remove your pins.
.jpg "Small Space Verticle Herb Garden")
From one of your fabric's short edges, measure down 16 inches. Then, fold the cloth up such that the 8-inch mark is reached by the pleat. It hits at the 4′′ point in this image. Your first of five pockets is made as a result. A straight pin should be inserted on each side of the top of the pocket so that it passes through all three layers of fabric. Make sure your pleat is folded evenly throughout the whole width. Just above the bottom of the pocket, insert two extra straight pins so that they pass through all three layers of cloth. This will be recognizable from the fabric's top side.
.jpg "Small Space Verticle Herb Garden")
Measure 16′′ down from the top of the pocket you just created with your ruler removed. Another pleat should be folded up to just below the 8′′ line on your ruler. It appears to be around 4 inches in this picture. To the top and bottom of the second pocket, put straight pins once more.
Until you have 5 pockets or have almost run out of fabric, keep following these steps of measuring 16′′ down from the top of the last pocket and folding back up to the 8′′ mark.
.jpg "Small Space Verticle Herb Garden")
Your last pocket should have the extra fabric folded under the bottom and pinned in place. Although there should be five pockets, this image only displays two.
.jpg "Small Space Verticle Herb Garden")
Place the entire piece of fabric under the needle with care, and sew down one of the long sides from the bottom to the top. For further stability, back stitch the beginning and end of each pocket corner. The long side should then be folded or rolled in toward the center after you remove the pins. Stitch all the way up the other long side of the fabric piece, beginning at the bottom once more. Where each corner of the pocket starts and finishes, back stitch once more.
Mark the center of your fabric piece with a chalk mark or a straight pin. Reposition the entire fabric piece under your sewing machine. Stitch up the middle of the fabric piece, beginning once again at the bottom. Take out each and every pin. You now own ten pockets!
.jpg "Small Space Verticle Herb Garden")
Your fabric piece's top should be folded to the back side twice, once by 1/2 inch and once by 2 inch. To follow the 1/2 inch fold, stitch around the back. A pocket hem will result from this.
.jpg "Small Space Verticle Herb Garden")
Through your hem, put your copper pipe. On each side, it should be about an inch broader than your new plant hanger. Cut a piece of rope, then insert it into the copper pipe. Make a knot, then tuck it inside the pipe.
.jpg "Small Space Verticle Herb Garden")
Measure roughly 8′ of liner but don't fold it vertically if you want to build a shorter and wider panel. As an alternative, fold it in half so that the two short ends meet to create a double-sided panel that is 4 feet long. Then fold it back up approximately 6 inches and make a line about 20 inches down from the fold. From the top of the pleat, measure down 12′′, then back up 6′′, and pin once more. Repeat three times, and then tuck under any extra fabric. You're done after you sew everything together and add the pocket hem for your copper pipe at the fold.
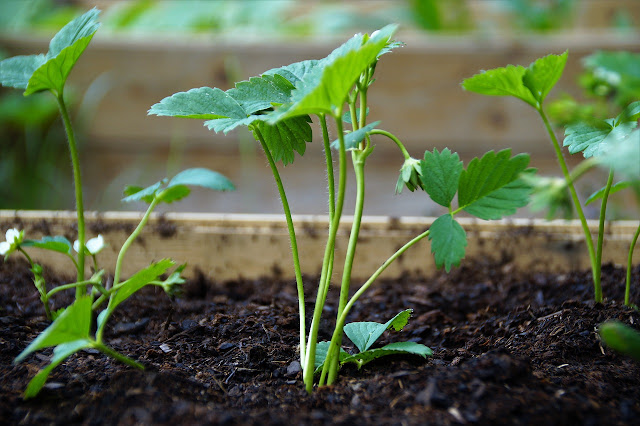
For your new hanging herb garden, choose the ideal location on your balcony or in your yard, then add your potting soil and herbs. Nobody will object if you include a lovely blooming plant to go with all that green.
.jpg "Small Space Verticle Herb Garden")


Comments
Post a Comment